Academic research and writing is constantly changing and evolving, making journal articles an essential part of the process. Whether you’re a student, educator, or researcher, the depth of knowledge offered by journal articles is incredibly valuable. Scrible recognizes this significance and has introduced innovative features to enhance the research experience.
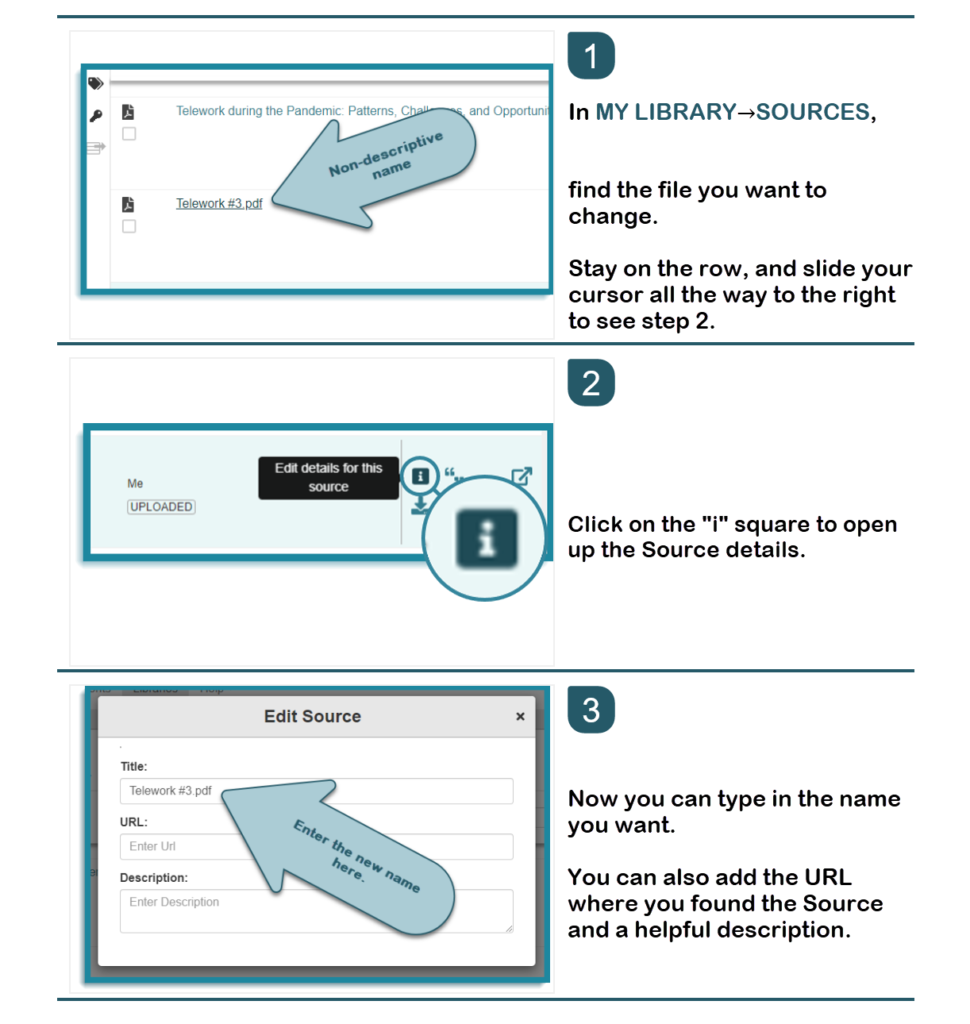
Physical Journal Articles
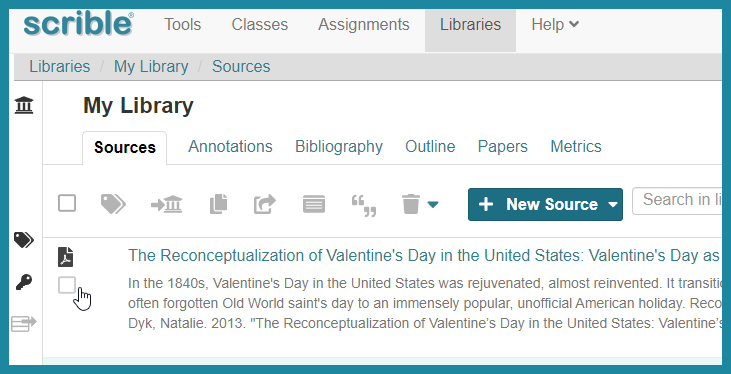
Scrible has simplified the process of integrating physical journal articles into research. These credible sources can now seamlessly join your Scrible library.
By integrating physical journal articles into Scrible, you’re equipping yourself with a powerful tool for conducting comprehensive research. Whether crafting a research paper, preparing for a presentation, or simply expanding your knowledge, Scrible makes it easy to harness the wealth of information in physical journals.
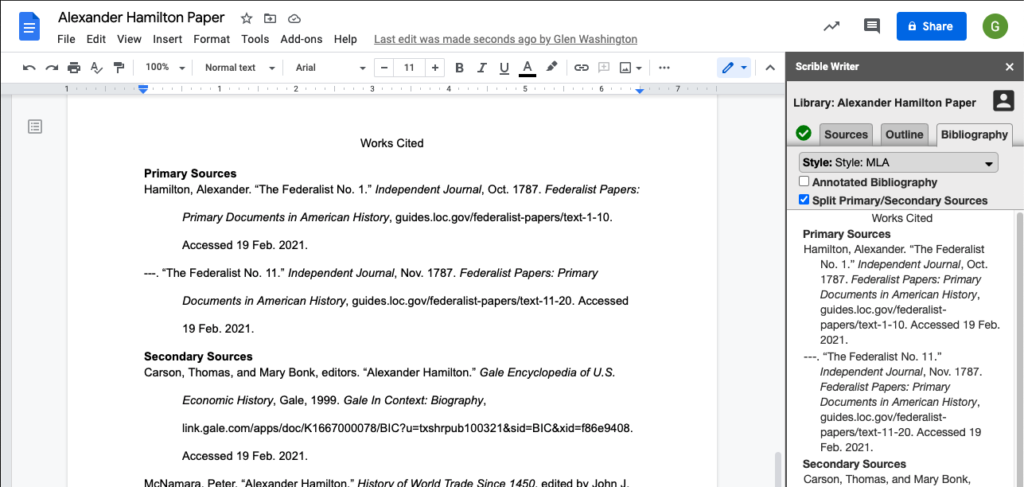
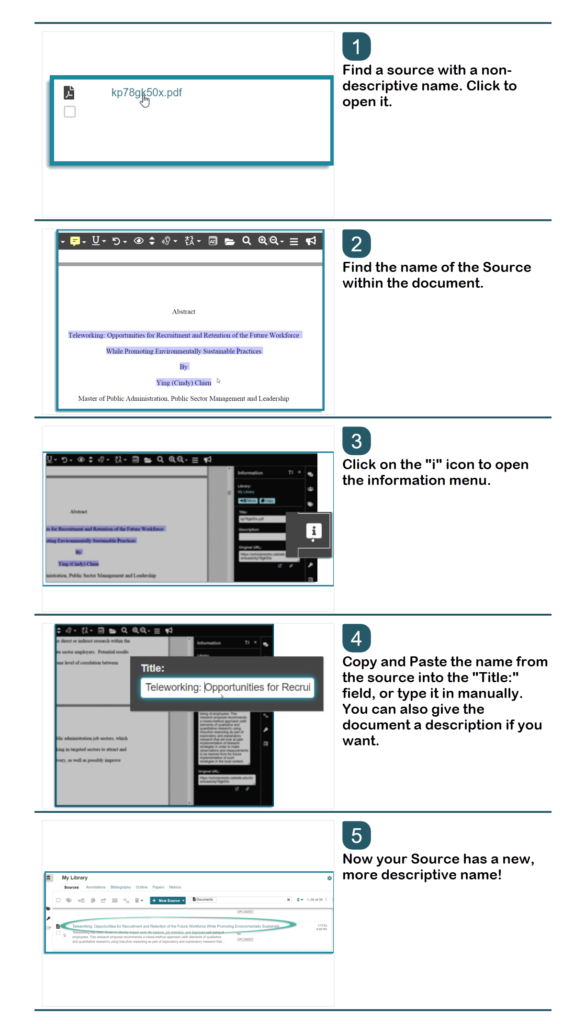
Digital Journal Articles
The Scrible team is dedicated to improving your research experience, and this commitment extends to digital journal articles as well. To optimize the potential of your digital copies of journals, check out our step-by-step guide.
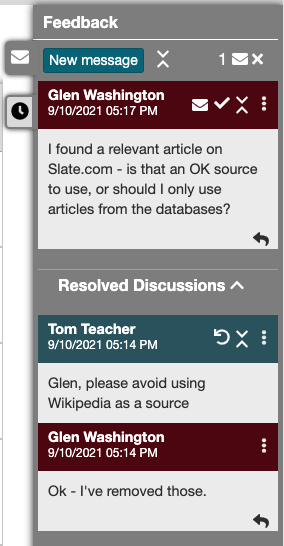
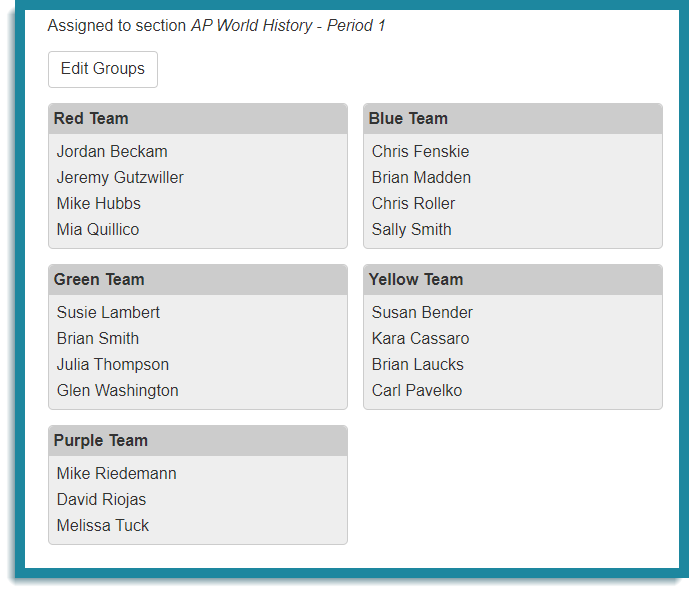
Collaborating and Sharing
Scrible isn’t just for solo research. It also allows you to collaborate with teammates and fellow researchers, making sharing articles, annotations, and notes easy. This collaborative feature streamlines group projects and facilitates sharing of research findings, making your research journey even more efficient and productive.
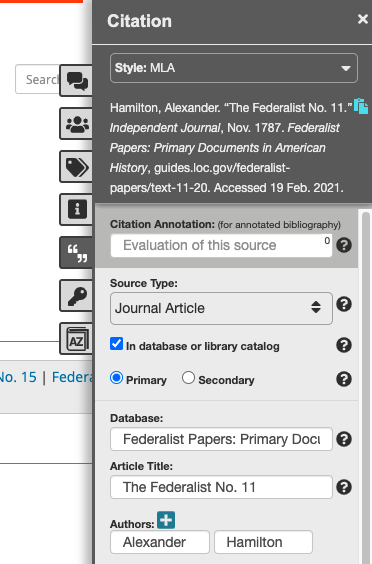
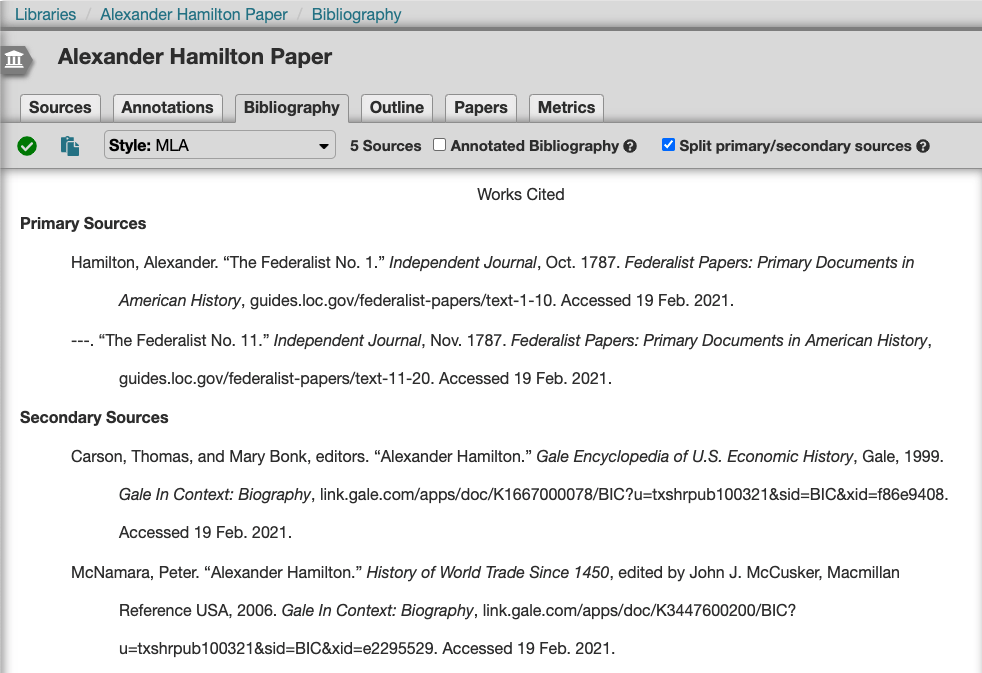
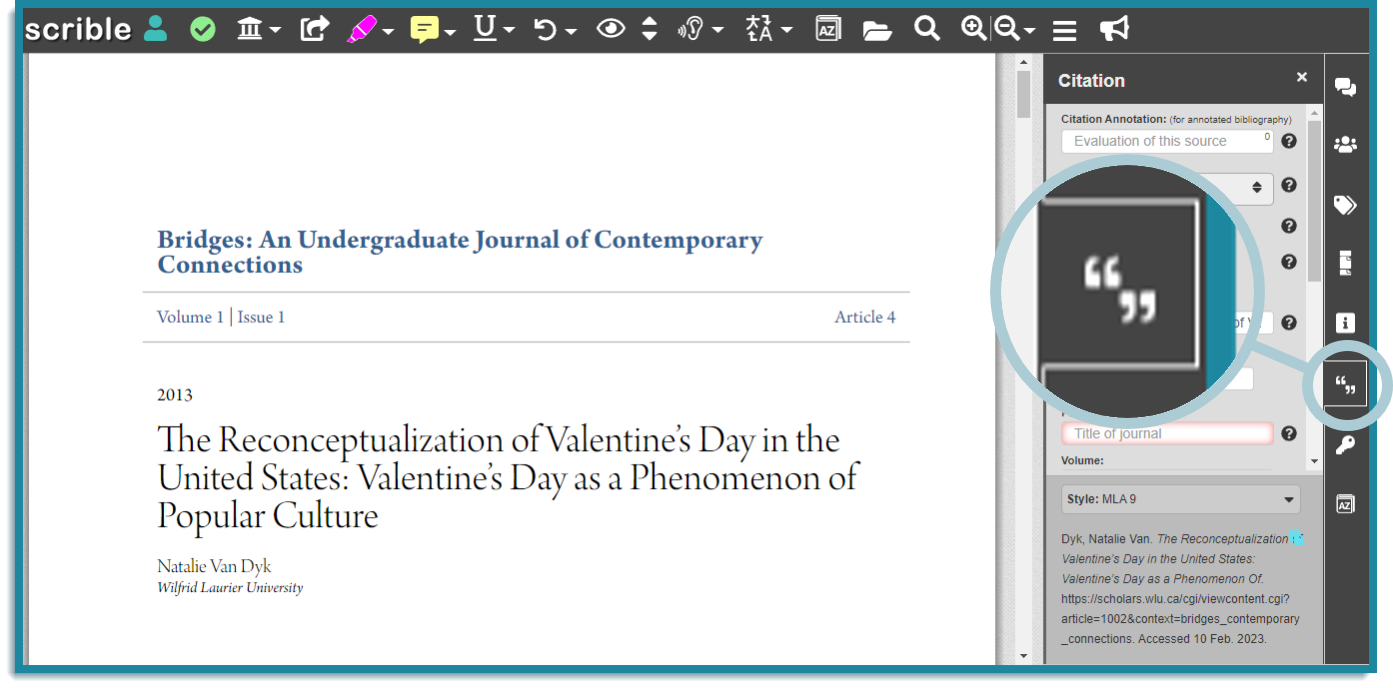
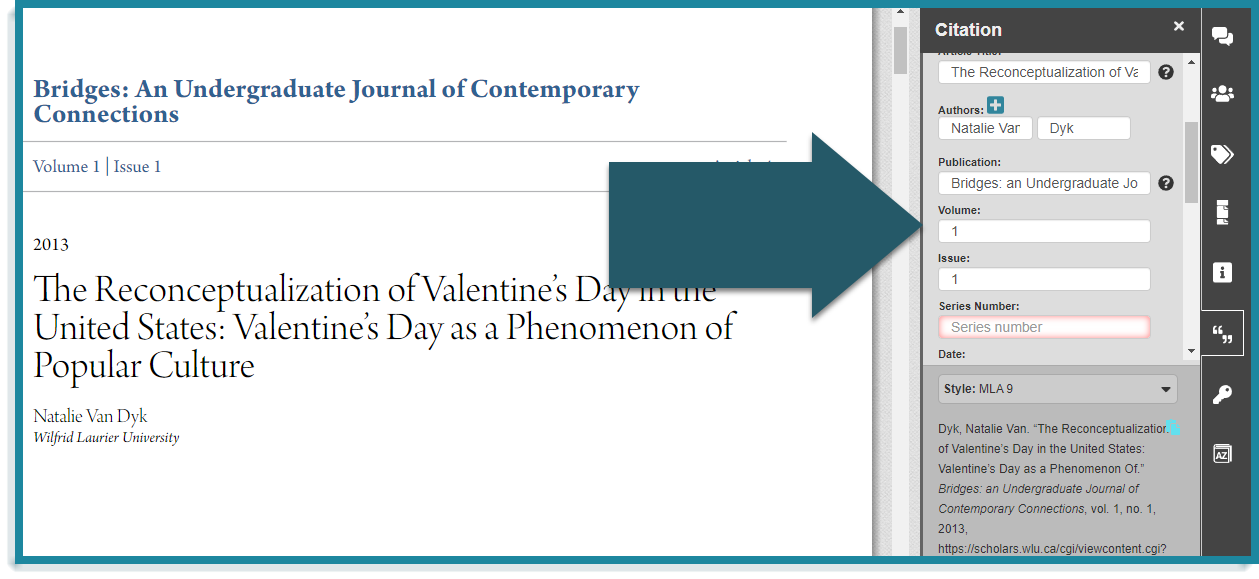
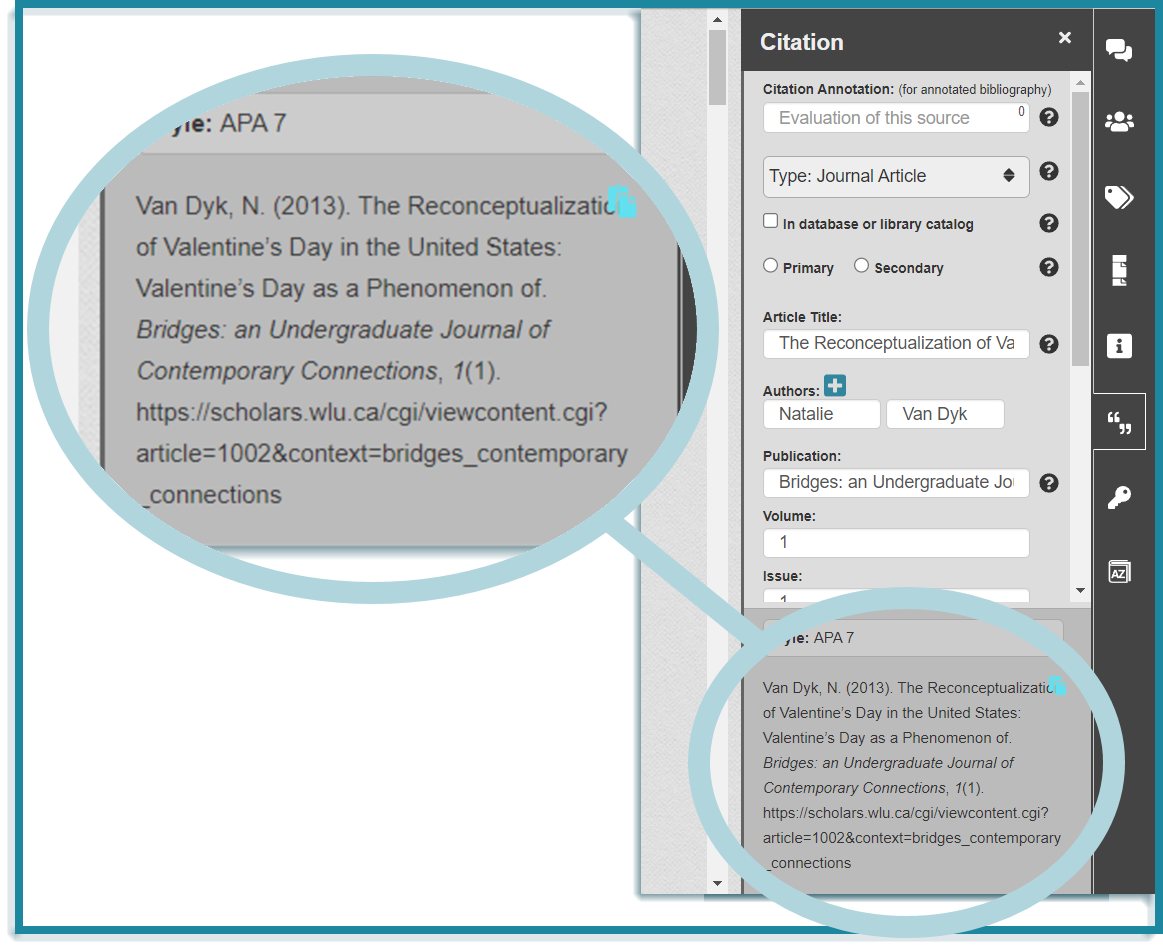
Citing Academic Journals
Citing academic journals in your research papers is a crucial step in the research process. Citing reputable sources offers several advantages:

Credibility: Peer-reviewed academic journals ensure the accuracy and veracity of information, lending credibility to your work when cited.

Depth of Knowledge: Journal articles offer expert analysis, research findings, and topic insights.

Supporting Claims: Citations from academic journals provide evidence to support arguments and claims, enhancing research paper persuasiveness.

Academic Integrity: Properly citing sources, such as journal articles, is crucial to upholding academic integrity, as it demonstrates respect for others’ work and helps to avoid plagiarism.
Scrible offers innovative features that allow researchers, students, and educators to seamlessly integrate physical and digital journal articles into their research process. These features enhance efficiency and ensure the integrity and quality of your work. By citing academic journals in your research papers, you tap into a wealth of knowledge and increase the credibility of your research.


 ,
,